
Building your own DIY lemonade stand is a fun way to spend more time with your kids, and will give them hours of enjoyment this summer. You’ll be learning something new together, and even your youngest children will be excited to help.
Safety comes first, so wear protective equipment to prevent injury from tools and paint, and keep younger children away from sharp objects.
Start with deciding the type of lemonade stand you would like to build. Do you want a lightweight stand that your kids can easily set up and put away themselves? Maybe you want to build a sturdier model on wheels that can double as a bar and appetizer cart for patio parties.
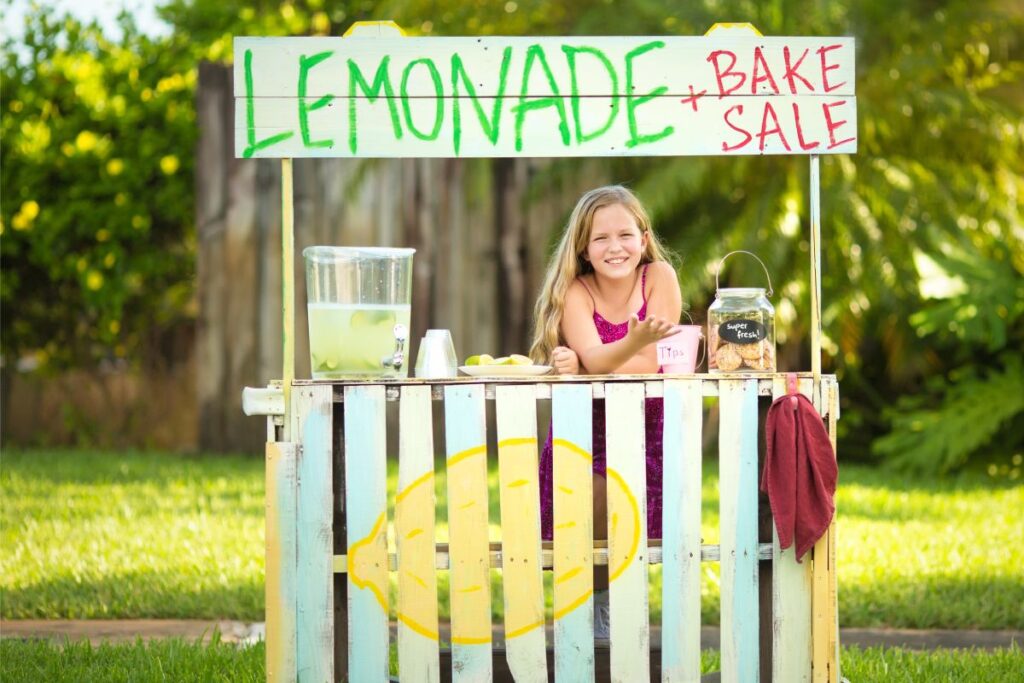
Think about where you will set up your lemonade stand. If you have a shady spot under a tree, that’s an ideal spot. If not, you can drape some fabric across the top or place a sun umbrella near it to protect your children (and customers!) from the sun.
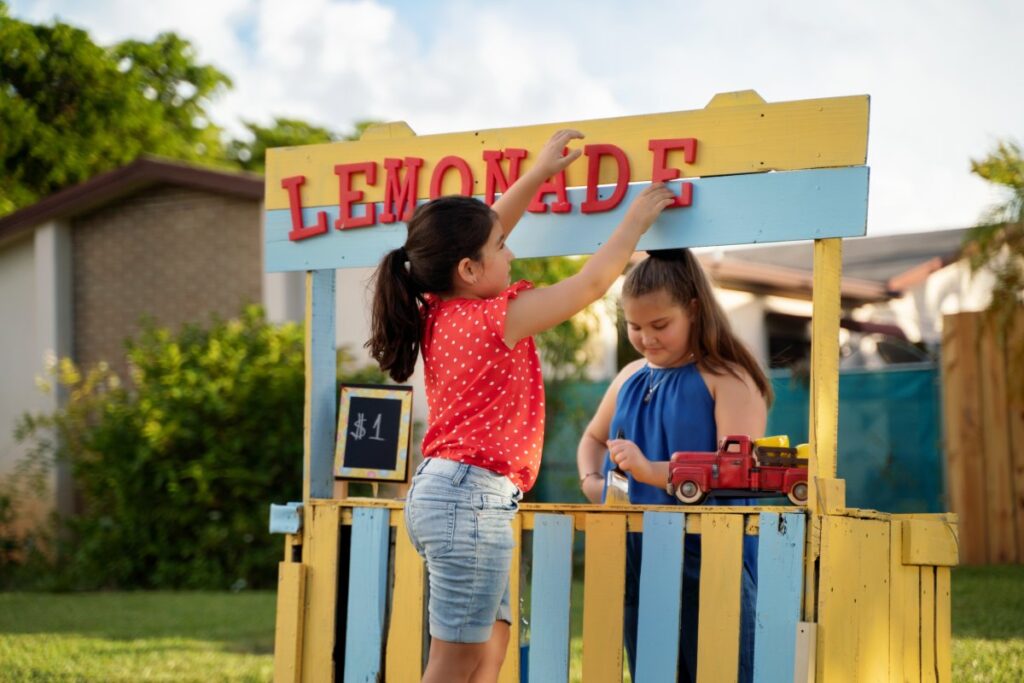
How will you get people to notice your lemonade stand? Your kids can make their own colorful lemonade sign or you can paint or stencil letters onto a board.
It’s fun to hang a chalkboard on your stand to write a welcome message and lemonade prices.

Materials and tools for a lemonade stand
You will find all the supplies you need at Hardman’s. We will be happy to help you get the most suitable wood, screws, nails, hinges, paint and tools.
- Safety glasses
- Measuring tape
- Pencil
- Hand saw, miter or circular saw
- Hammer
- Drill
- 2x4s – in the length needed for your frame
- Plywood – for the countertop, sides, front and bottom of the stand
- Dowels for banner and/or canopy
- Hinges to fold the sides in for storage
- Screws
- Nails
- Sandpaper or palm sander
- Paint and primer
- Paint brushes
- Felt pens
- Stencils
- Fabric for canopy (or use a sun umbrella)
How to make a lemonade stand in 6 steps
Step 1 – Plan
All successful DIY projects start with a solid plan. Think about the type of lemonade stand you want, the materials you will need, your budget, the amount of time you have to work on it and your DIY skill level. A basic lemonade stand is perfect for a beginner woodworker.
Plan your lemonade stand with your children in mind, making sure the countertop is at the right height for them, when they are sitting or standing. Your stand will need to be wide enough for at least two chairs, side by side.
Put your ideas on paper, with a drawing and measurements of your stand to help you estimate how much wood you will need.
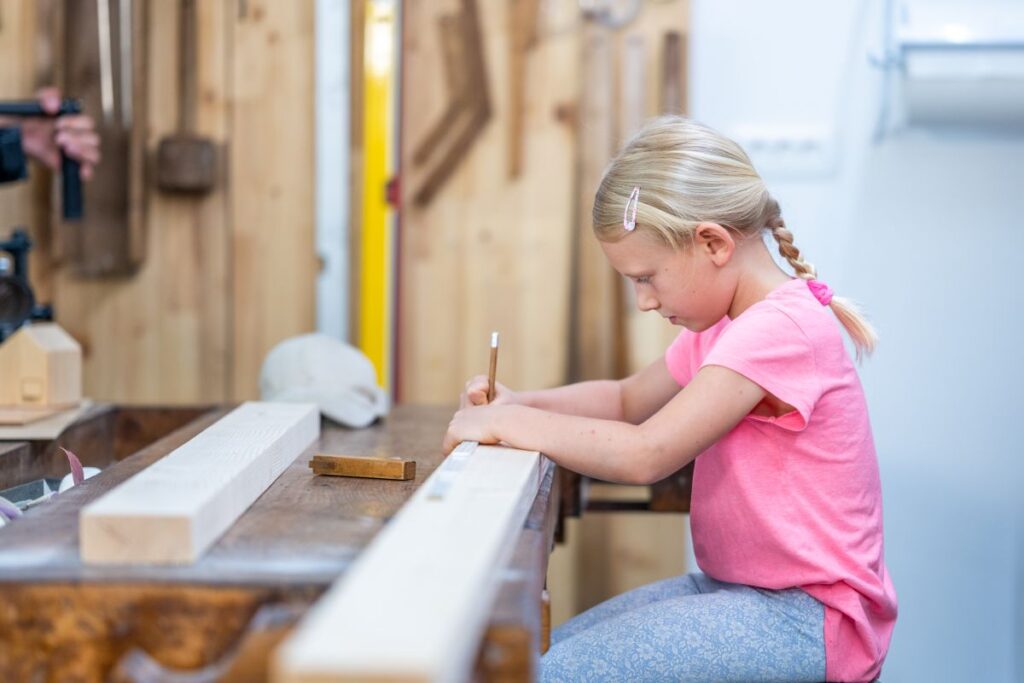
Step 2 – Measure the wood
Follow your plan’s dimensions to measure where to cut the 2x4s, plywood, and dowels.
Use a pencil to mark on the wood where you will need to make cuts.
The frame will be made with the 2x4s. Measure the plywood for the sides, front, countertop, banner and optional bottom. Measure the dowels, which will be inserted into the top or fastened to the sides at the front of your stand for the banner.
If your plan includes a canopy, you can measure two more dowels for the back corners of the top.
Step 3 – Cut the wood
Cut the wood along the pencil marks with a hand saw, miter saw or circular saw.
Use sandpaper to smooth out any rough edges on the cut wood.
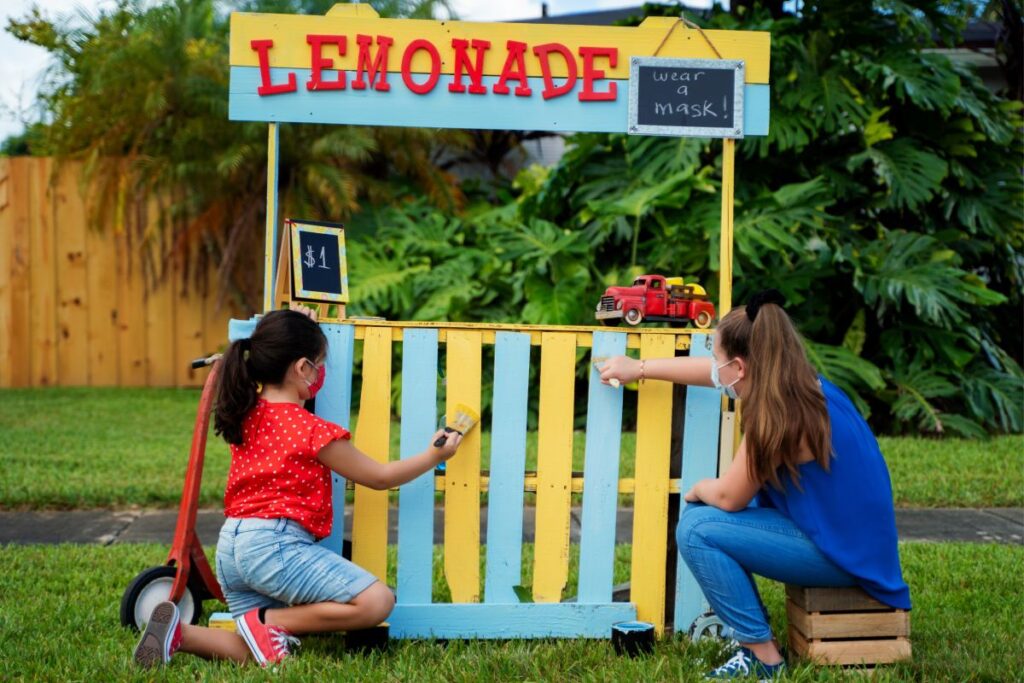
Step 4 – Paint or stain the wood
Paint or stain the wood and allow it to dry completely before screwing the pieces together.
Paint, draw or stencil “Lemonade” onto the banner, and get your kids busy decorating.
Step 5 – Build the stand
Position 2x4s to make two rectangular shapes, one for the top and one for the bottom of your stand. Screw the 2x4s together at each corner.
Screw the plywood onto the frames for the sides, front, top (and optional bottom).
Fasten the dowels by inserting into a hole in the top front two corners or in all corners if adding a canopy.
Screw the banner onto the dowels at the front of the stand.
Step 6 – Finishing touches
Drape fabric over all four dowels to create a canopy.
Hang a chalkboard on the front of your lemonade stand to welcome customers, and display your lemonade prices.
Other ideas
Use your imagination to dream up a truly original lemonade stand!
You can keep it simple by repurposing an old nightstand. Paint it bright lemon yellow, and fasten poles to the side to hang a banner. The drawer is perfect for stowing away cups and other supplies.
Give pallet boards or other salvaged wood a new life as a lemonade stand! Be sure to sand the wood thoroughly to prevent splinters, and prime it before painting to seal the thirsty wood. And if you’re not sure which paint to choose for your project, come to Hardman’s and we‘ll be happy to help.
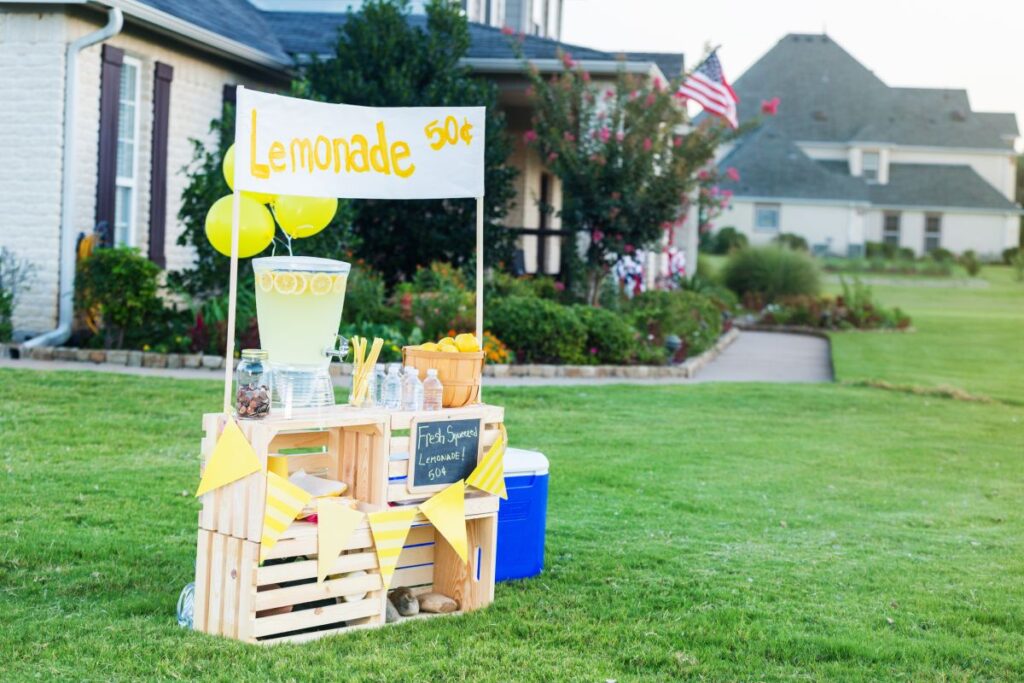
Another simple idea is to stack and fasten wood crates together, two on each end, then lay a board across them to create an instant lemonade stand. The wood crates give you lots of storage space for cups, napkins and change. Your kids will love painting the crates and board bright yellow. Attach your lemonade sign, and you’re in business!
Now you’re all set for a summer full of lemonade, laughter, and happy memories.

